Window Replacement 101: Installation Day
Posted
on September 15, 2023

Today’s the day all of your hard work pays off. All the moments of uncertainty that accompanied every choice, the careful research of window replacement options — all now a distant memory. They've been replaced by the thrill of envisioning a more stylish home, one that's just within reach. Your dream is about to transform into reality.
Window installation day has finally arrived.
While the process of decision-making may be behind you, your journey isn't quite complete. There are a few crucial steps you can take to guarantee the seamless success of your window replacement project.

Setting the Stage for Your Window Installation
The home window installation crew will arrive within your pre-scheduled timeframe. Prepping your home in advance can help create a more efficient work process.Here are some key steps you can take to ensure a flawless window replacement experience.
- Security First: Deactivate any alarm systems connected to your current windows. You might consider a professional from your security company to manage this.
- Clear the Space: Remove fragile items and decorations from the work area. Take down window treatments like curtains and blindsif you plan to reuse them.
- Furniture Protection: Shield furniture from dust with blankets or sheets. Move furniture away from the window openings.
- Landscaping Care: Trim bushes, trees, and shrubs for clearance. Bay windows and bow windows might require extra space.
- Workspace Setup: Designate a workspace for installers with an accessible electrical outlet. Consider your garage if rain is forecasted.
- Setup and Coordination: Show the crew where to park and set up equipment. Review the job together to ensure accuracy.
- Safety Considerations: Keep children and pets away from the work area for everyone's safety. Coordinate access with the crew if needed

Communication Tips for Installation Day
After prep work is complete, the window replacement crew can get started as scheduled. Here are a few recommendations to create a seamless experience for yourself and your window installation crew.
- Open Communication: Express any specific instructions. You may wish to give directions on disposal of old windows, preservation of window treatments, protecting certain landscaping, or other elements that matter to you. Together, you’ll check that all the window openings and units match the work order to ensure everyone knows the correct locations, sizes and configurations. Don’t be afraid to ask questions — your team is there to help!
- Your Freedom: You can leave while the crew works, but be sure to communicate plans and exchange phone numbers in case anything comes up. You’ll also want to coordinate a final walkthrough time or check the progress remotely. If you decide to stay during your window replacement projecty, beware of the noise and dust.
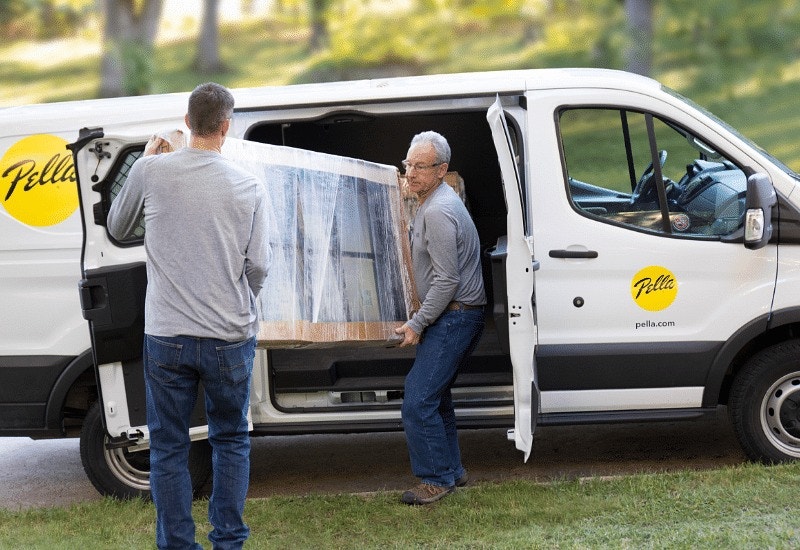
- Trust Pella's Commitment: Your team will clearly display their Pella identification, review the home window installation plan with you, and cover their work area to protect your space. Your Pella installation team will work diligently to install your new windows and doors in almost any weather, contain their work area, and keep you updated on the project status throughout the day.
Rest assured that when you choose Pella, your team will take extra steps to respect your home. They'll clean up after themselves, haul away your old windows and doors, and show you how to operate your new products.

What to Expect of Your Window Installation Crew
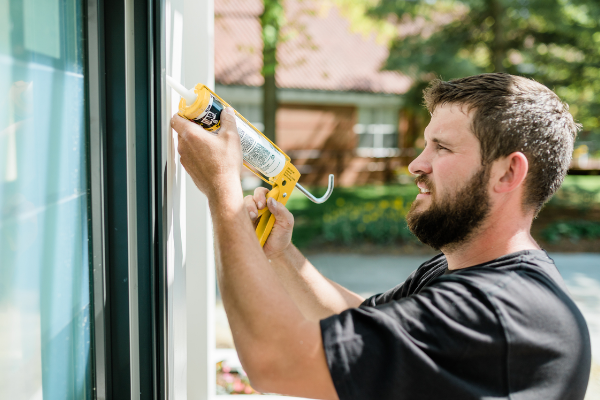
While it certainly doesn’t hurt to prepare your home, choosing the right window installation team for your project means that you won’t need to sweat the details. The professional installers will remove your old windows, prepare the openings for new units and install the new windows following the manufacturer’s instructions. They’ll insulate your new windows with low expansion foam insulation, add trim and seal them inside and out with the appropriate materials. All that can create quite the mess, but the crew takes measures to protect your home.
The window installation crew will place drop cloths, tarps or other protection on the floors where they will be walking and around the work areas. This keeps the mess of the project from dirtying or damaging your home. They’ll thoroughly clean the work areas inside and outside your home and haul away all job-related debris — unless you specified that you wanted to keep your old window, trim or treatment. However, dust goes airborne, so you should expect some collection of dust inside your home.

Walking Through Your Completed Project
After the work and cleanup, the crew lead will complete a final walk-through. This is your chance to ask any additional questions and address any concerns you may have missed. Here's what to anticipate:
- Guided Tour: The crew lead will walk you through the job, demonstrating how each window operates.
- Quality Check: Ensure your satisfaction with the work and ask any final questions or concerns.
- Feedback Opportunity: Complete a certificate of completion, offering valuable feedback for improvement.
- Follow-Up Care: After the certificate is filed, expect a follow-up call from the project manager or sales consultant to ensure your contentment.
You’ll be asked to fill out a certificate of completion, which is your opportunity to provide feedback — good or bad. Your feedback is valuable. Once the certificate is filed at the branch office, you’ll likely receive a follow-up call from the project manager or sales consultant to make sure you’re completely satisfied with the work done on your home. They’ll make sure any remaining issues are resolved.
Enjoy Your New Windows
Installation day brings the window replacement process to an end. The investment of time and money you put into the project finally pays off and you can start enjoying a more beautiful, more comfortable home.
Ready to make your home more comfortable? Contact us today to schedule your window replacement!
Schedule a free consultation to find windows and doors for your home.
